![]() In this tutorial, you will learn how to manipulate sketchup to create automatically rotating vehicle’s pictures.
In this tutorial, you will learn how to manipulate sketchup to create automatically rotating vehicle’s pictures.
The goal is to obtain 37 pictures of a 3D vehicle. In another tutorial we learn to compose a complete frame with all the generated pictures.
First, download the free 3D software : sketchup
Advise : Try the different provided tools from sketchup : moving, rotating, zooming, camera…This will help you to place and modify your 3D model
I have made a script to rotate automatically a model and write png file every 10°.
- Download and install the provided script (see download at the end of the article)
- In order to install a script for Sketchup on MAC, copy the .rb file to /Library/Application Support/Google SketchUp 8/SketchUp/Plugins/garmin/ It is important to put this in a subdirectory, otherwise, the script will be automatically called when sketchup starts.
- Then, launch Sketchup.
- Here, you are ready to import a 3D model : Click on “file” menu and “3D Warehouse“. A browser lets you select your model : choose one !
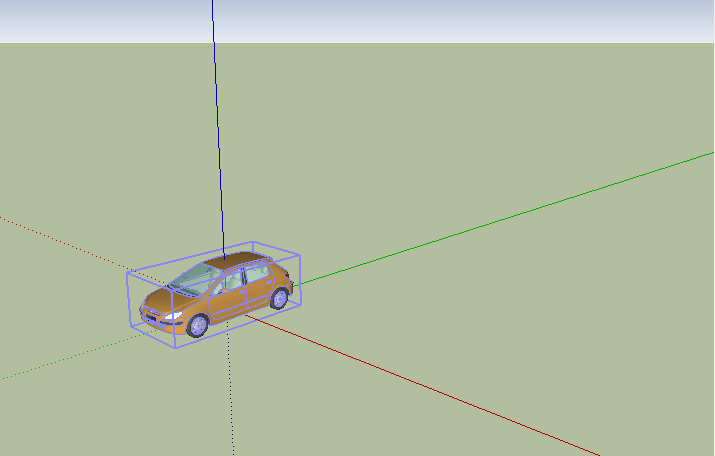
- When the download is over, you have to place your 3D model centered on the blue Z axis. It is important since the rotation is done around this axis.

- Move and center correctly your vehicle in the view, like in the following screenshot

- On your computer, create a directory called “vehicule” at the root of your hard drive. (You can change this in the ruby script)
- In “Windows” menu, select the “Ruby Console” and type load(“garmin/rotate.rb”)
- Verify that all the pictures are generated in the “vehicule” directory.
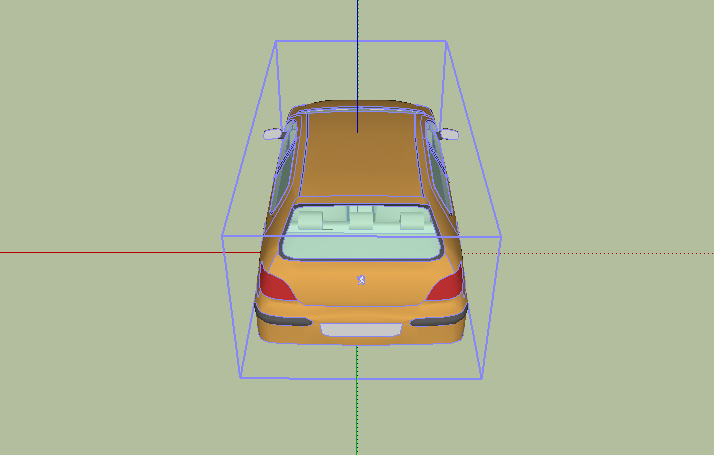
- You may have to position again (zoom or dezoom) your model, for the top view…and export it manually (80×80 pictures, png format)
Enjoy!

|
5th Mar 2011
|


